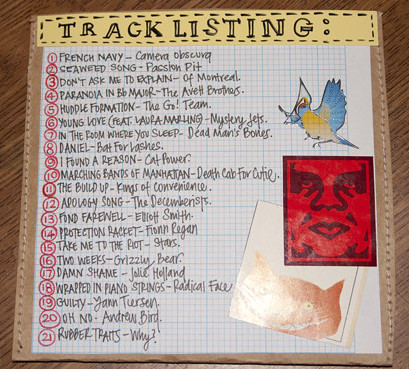
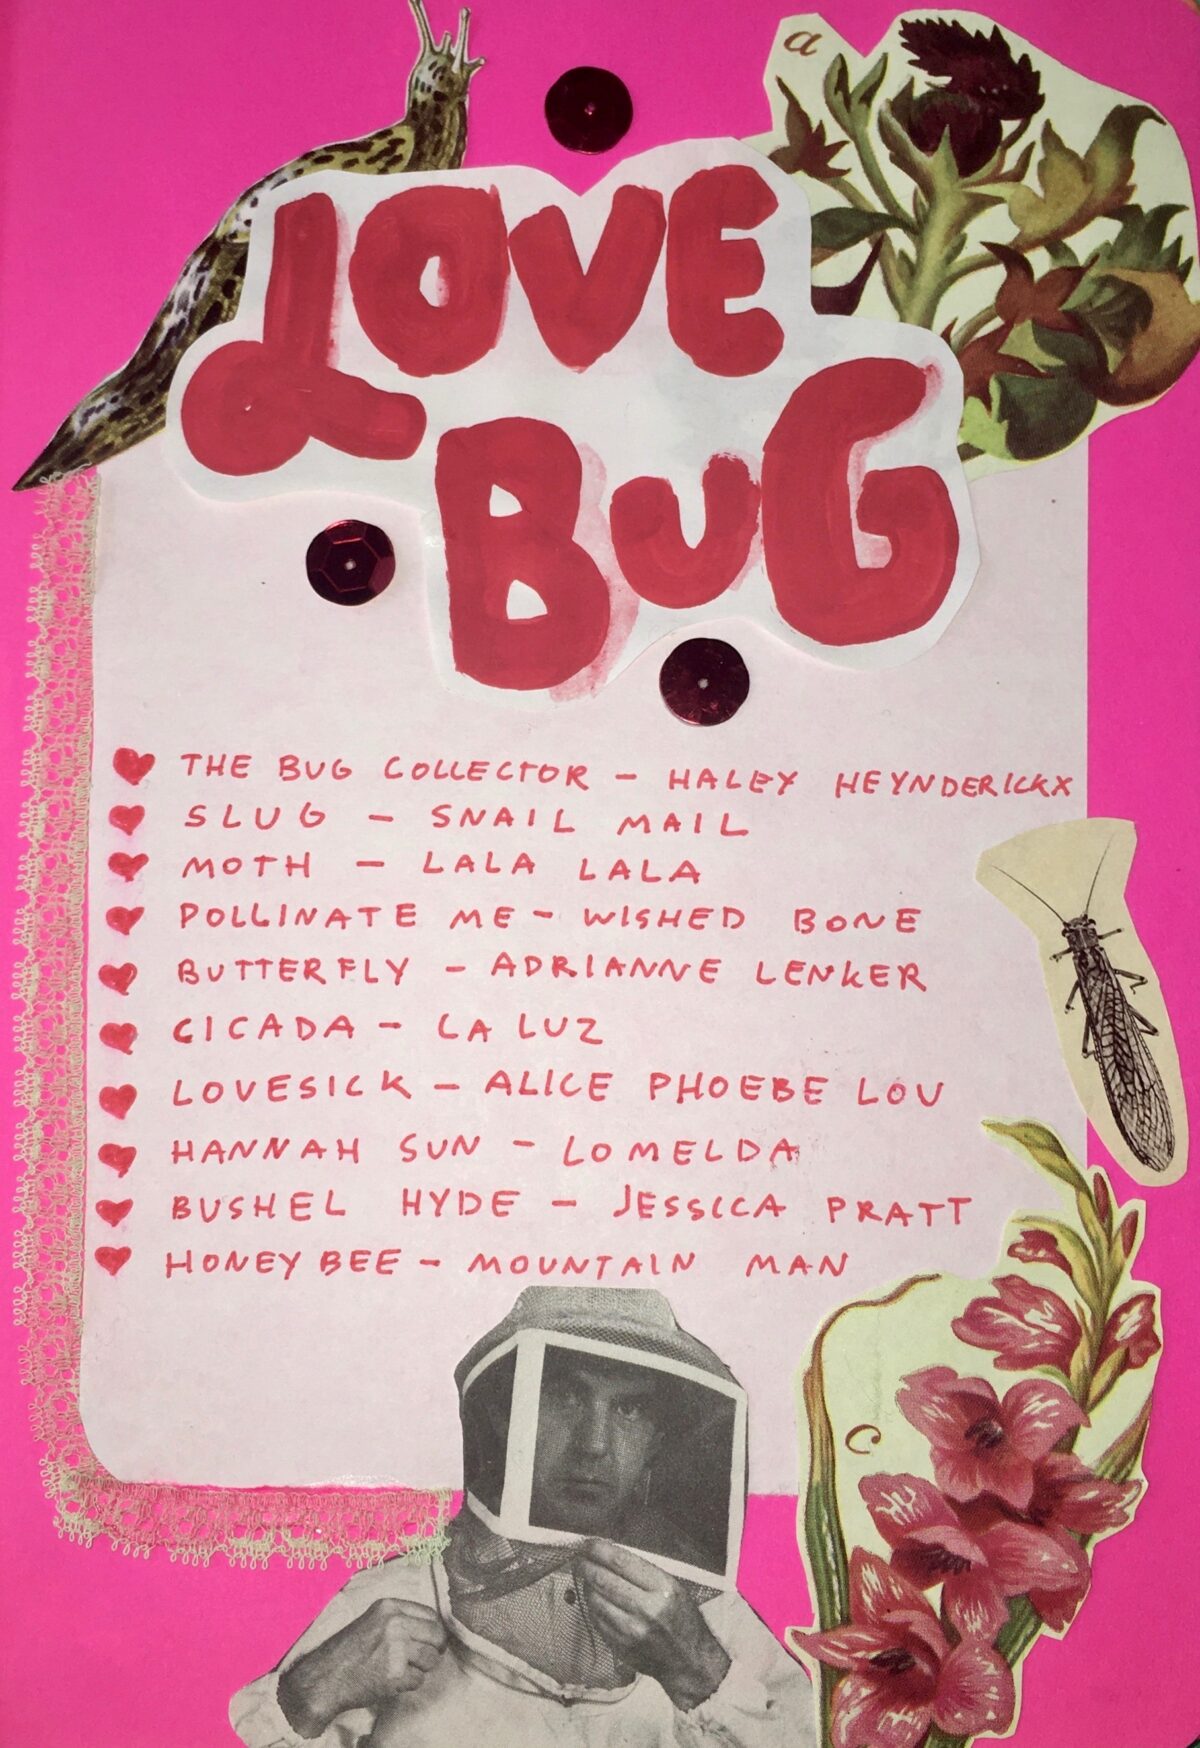
If you grew up burning CDs for your friends you might have seen a playlist or setlist collage before, which is an artwork and a tracklist of songs that are combined to set a specific mood.

I love making playlists that capture a certain feeling or have a strong theme. A playlist collage takes that to the next level by visually showing your listener what the playlist is about. By themselves, a playlist and a collage are fun but together it makes a functional art piece.
How to Make a Playlist Collage
Step 1: The Playlist
The first step is to make a playlist, I usually make mine around 10 songs so it’s easier to handwrite all the song titles and artist names. You can make it as long as you want, especially if you will print out the tracklist elements like the example above. I like to choose songs that flow together and go with the theme of your playlist.
Step 2: Gather Materials
You can choose whether to make a paper or digital collage. I love the DIY aesthetic of a paper collage. If you go that route, you will need paper (in any color you like), pens, paint, glue and magazines or pictures you have printed out. You can also use flat objects like ribbon to add a little something extra.
Step 3: Lay it Out
After you have your playlist made and your materials ready, you can get started. Cut out the images you want to include and begin trying different layouts. I like the playlist to be the main element so I will cut out a piece of paper large enough to have all the songs. After the songs are laid out, you can add a title, pictures, and anything else your heart desires. I recommend waiting to glue everything down until you’ve played around and are happy with the composition.
Step 4: Final Touches
Once you have the collage in a place you like, begin gluing everything down. I use a mix of glue sticks and liquid white glue depending on what materials I’m using. Wait a few minutes until the glue dries. Then you can add final touches like drawings, glitter, or anything you think of.

Happy crafting
-DJ lil witch

